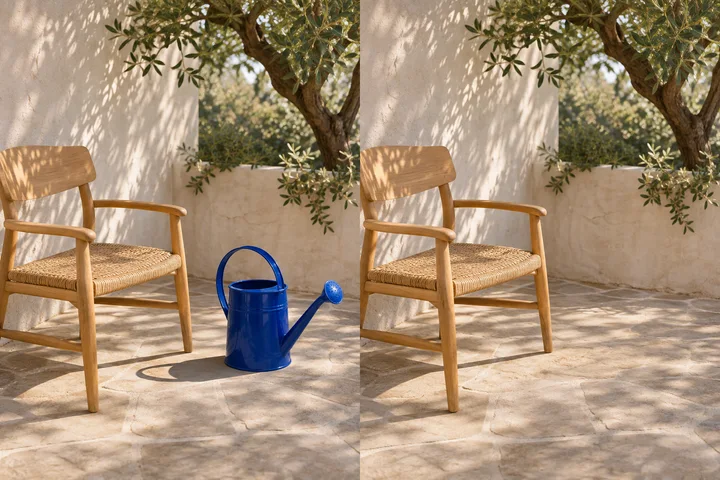
An image to image AI workflow starts with a reference, a change to make, and a few details worth keeping.
Reference image
1. Choose an image
Choose a reference that clearly shows the subject, angle, and features you want to carry into the edit.
Prompt
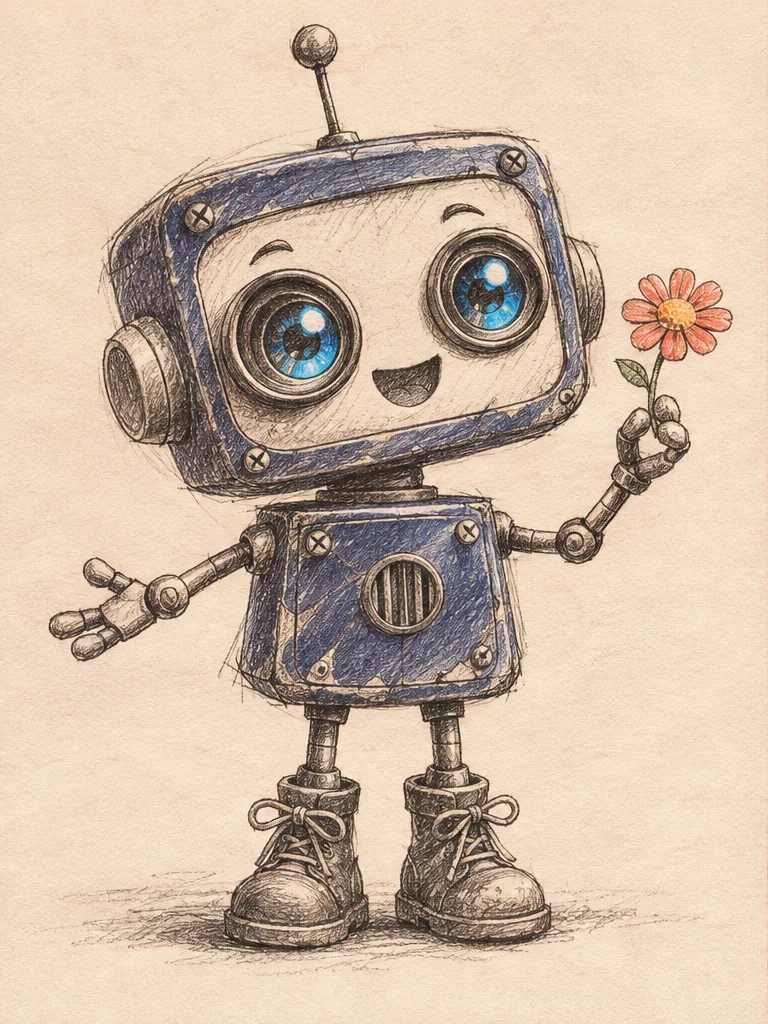
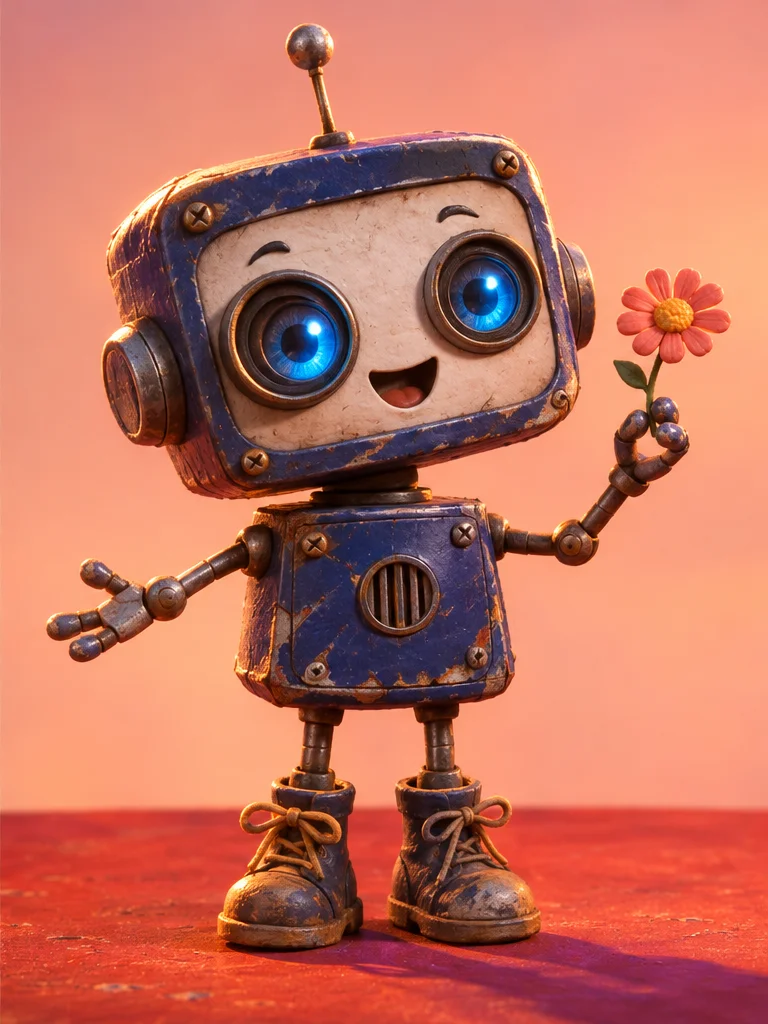
Make this robot a clay figure. Keep its antenna, pose, and flower.
2. Write the change
Describe the new style or scene in one sentence. In the next, name the details that should stay.
Sample edit
3. Compare the result
Compare the subject before judging the style. Look closely at edges, markings, and small details that might have changed.
What can you make with image to image AI?
Compare the original and the edit for three different briefs. The exact wording beside each pair shows how to ask for a new look while keeping the details people recognize.
Original
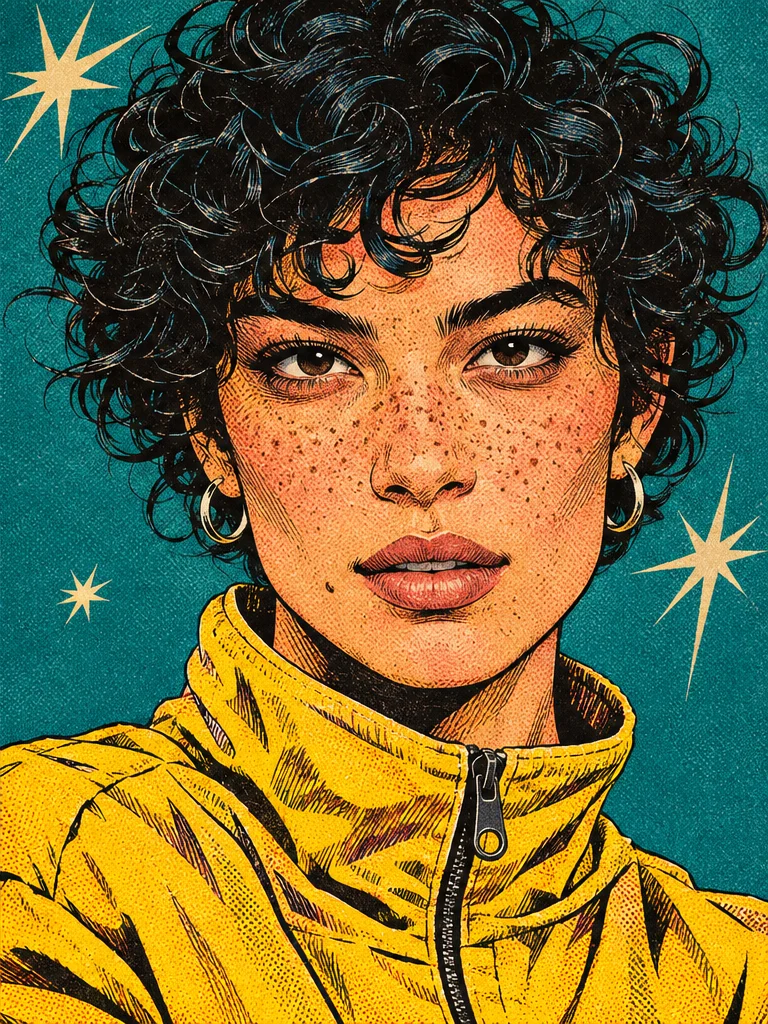
Comic portrait
Give a portrait the look of a comic cover.
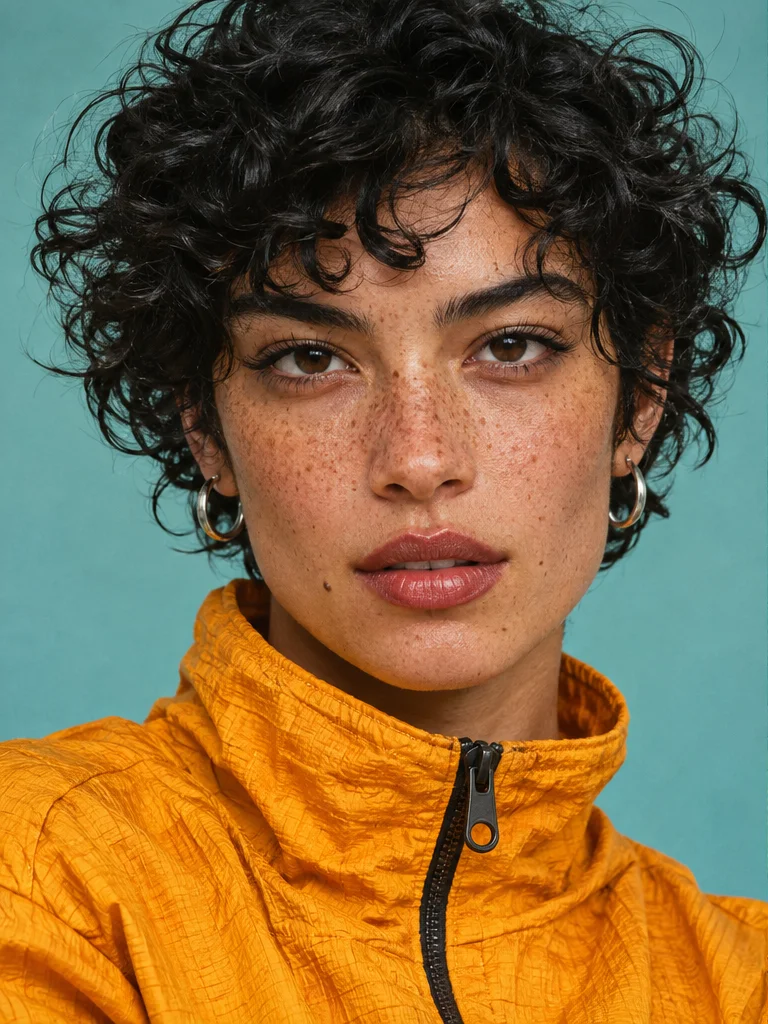
In this image to image AI portrait study, inked outlines and halftones change the finish. The expression, curls, and yellow jacket stay recognizable.
Turn this portrait into a graphic novel illustration with ink outlines and halftone shading. Keep her expression, short curls, yellow jacket, and head-and-shoulders crop. Use a deep teal background.
Original
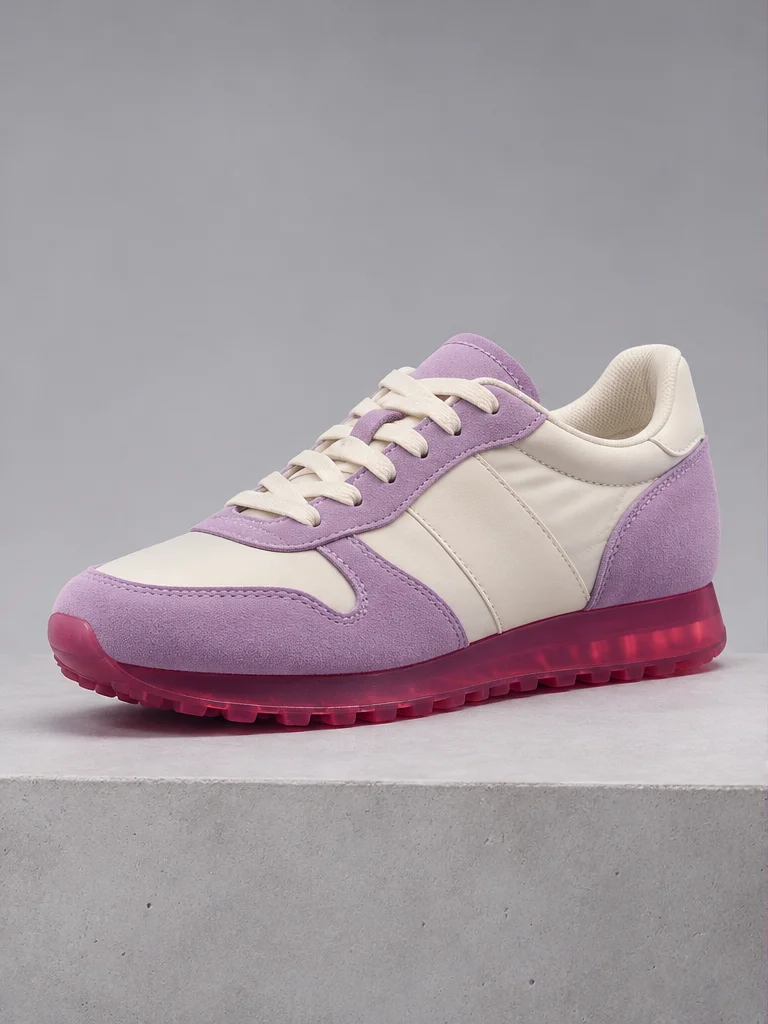
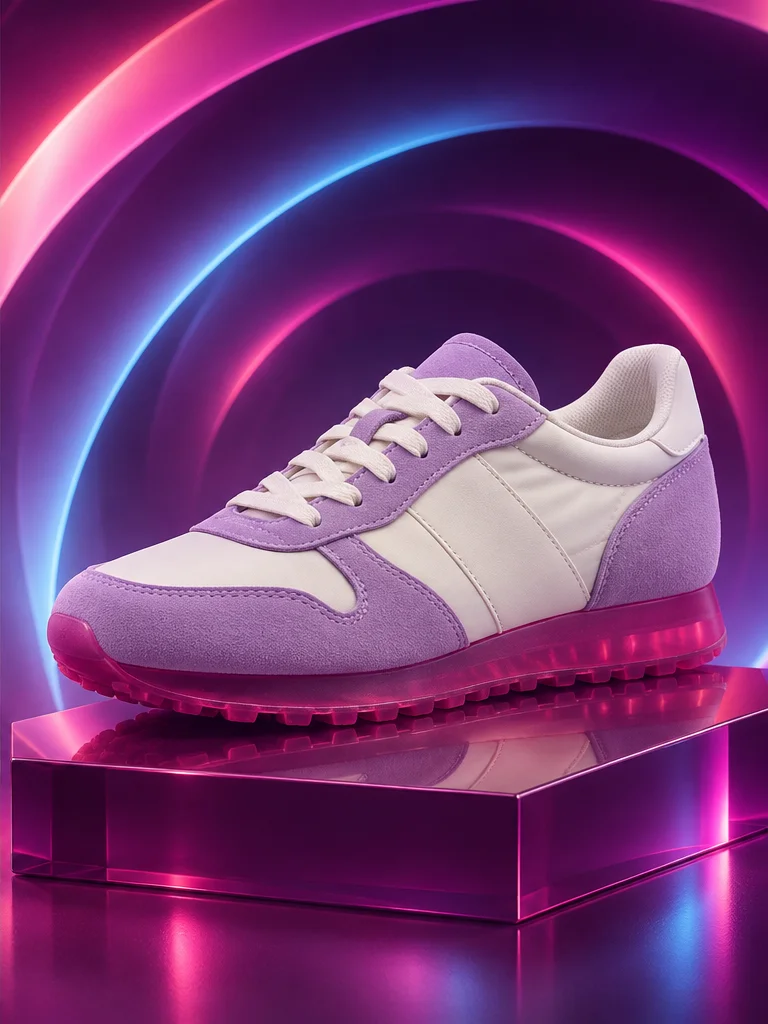
Product backdrop
Turn a product photo into a campaign image.
Use image to image AI to restage a product. Here, colored lights and a glossy pedestal replace the concrete set while the sneaker keeps its profile.
Place the sneaker on a glossy plum pedestal with violet and pink light arcs behind it. Keep the shoe’s profile, lavender panels, ivory laces, raspberry sole, and camera angle.
Original
Sketch to clay
Bring a rough sketch off the page.
The pencil sketch sets the robot’s pose and silhouette. Indigo enamel, clay texture, and warm side light give the same character a tangible finish.
Render this robot sketch as a hand-painted clay figure on a warm red tabletop. Keep the boxy head, round eyes, little antenna, pose, and flower. Add indigo enamel and soft sunset light.
Choose a reference worth keeping
Start with an image that already shows the details you care about. For image to image AI, those details are your baseline when you compare a new direction.
Portrait or headshot
Pick a photo with a clear face and an expression you want to keep. Leave some room for hair, glasses, or the edge of an outfit.
Check the edit. Compare the eyes and mouth before looking at the new style.
Start from one pose on a clean background. Use a drawing with a readable silhouette so the materials and lighting can change without obscuring the concept.
Check the edit. Compare the outline and small props with the original drawing.
Write a brief that gives you something concrete to compare with the original.
Lead with the change
For image to image AI, start with the change someone should notice first. Name the new background, finish, or light in a concrete sentence.
Name the details to keep
Say which details make the subject recognizable. A face, jacket, camera angle, or product label is easier to check than a general request to keep everything the same.
Revise one part at a time
When comparing image to image AI directions, keep the reference and most of the prompt fixed. Change the light first, then try a different setting if you still need one.
A portrait prompt in three parts
Change
Replace the kitchen with a plain studio wall and turn the photo into a printed illustration.
Keep
Keep the person’s expression, glasses, hairstyle, and shoulder-level crop.
Finish
Add bold ink outlines, soft paper grain, and a palette of teal, cream, and charcoal.
Find the look to put in your prompt
Pick a lighting, color, or texture detail to borrow for your next image to image AI brief.
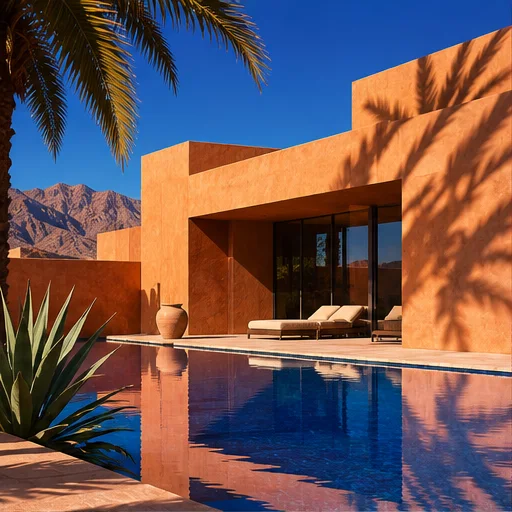
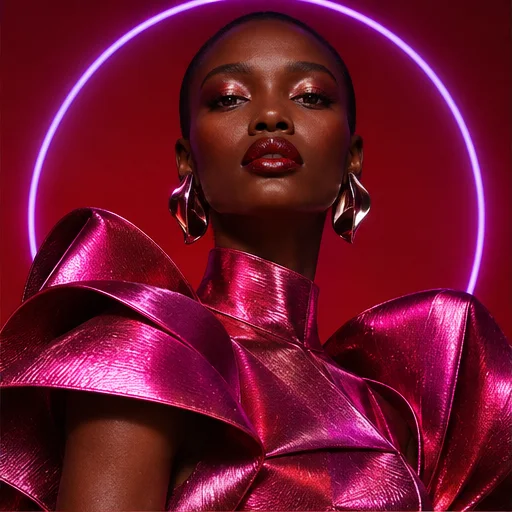
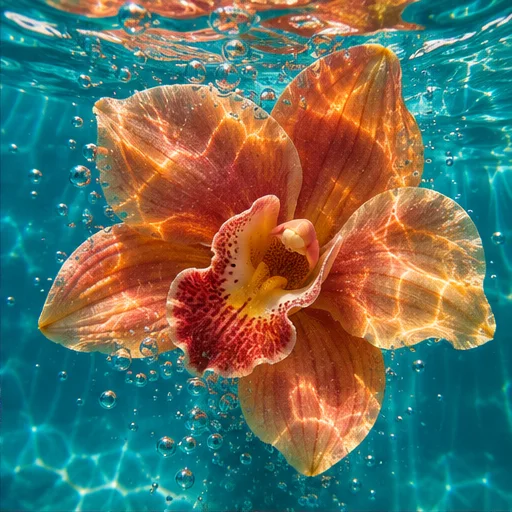
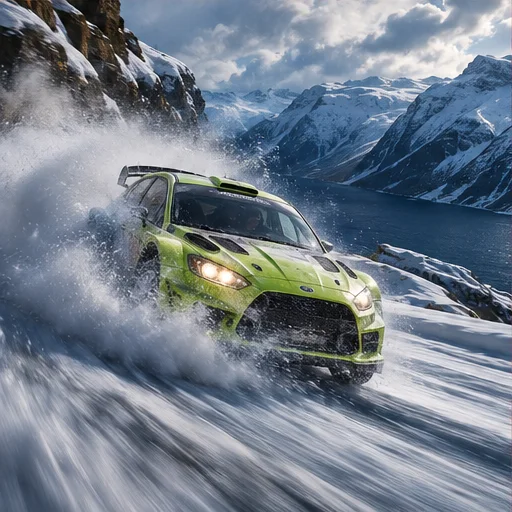
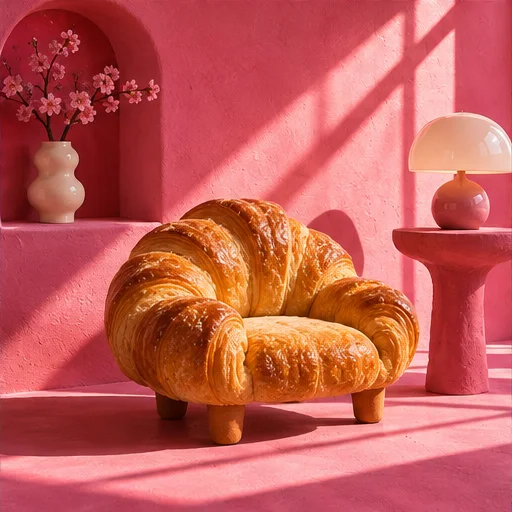
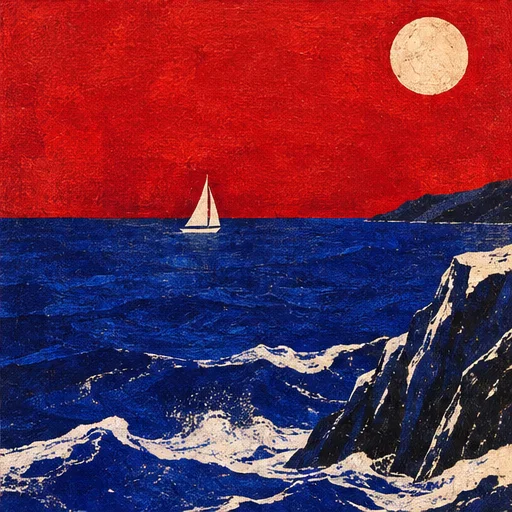
Editorial lightingUse hard afternoon light, long shadows, and a still pool that mirrors the building.Fashion color gradingPair cool violet highlights with warm skin tones and a metallic sheen on the fabric.Underwater macroDescribe translucent petals, tiny air bubbles, and turquoise light that softens into the background.Action photographyKeep the car sharp and let the snow show its direction of travel.Clay and miniaturesAsk for rounded edges, hand-painted details, and a shallow depth of field to suggest miniature scale.Print illustrationUse opaque gouache, visible brush marks, and a limited palette of cobalt and crimson.
Frame the image for where it will appear
Set the aspect ratio before you write an image to image AI prompt. Use Match reference if you already like the crop.
1:1
Product grids and avatars
Leave space on every side. Center the face or product front so it stays readable at thumbnail size.
16:9
Banners and presentations
Put the subject to one side and leave the other side open for a heading or logo.
9:16
Stories and mobile screens
Leave room above and below the subject. Ask for a full-length crop before describing the style.
For a set of images, keep the framing and light direction consistent. Check the crop at the size people will actually see before planning a higher-resolution version.
Choose a model for your edit
Pick a model for the kind of brief you’re writing, from a quick color study to a scene with several details to preserve.
GPT 2.5 Flare
Start an image to image AI style study with one change, such as a new palette or lighting direction.
It uses a photo, illustration, or sketch as a visual reference. Your prompt describes what to change, while the image gives the model a starting point for the subject, pose, or composition.
How does it differ from text to image?
Text to image starts with a written description. Image to image AI uses a reference as well, which helps when you already have a particular pose, product, or composition in mind.
How do I keep a face, pose, or product shape in the output?
Name the elements to preserve in your prompt. For a portrait, mention the expression, clothing, and crop. For a product, describe its shape, colors, and camera angle. Compare the result with the original, especially around logos and small text.
Which files can I use as a reference?
The editor accepts one static JPG, PNG, or WebP up to 10 MB. Each side needs to be at least 256 pixels, the image can contain up to 24 megapixels, and its width-to-height ratio must be between 1:2 and 2:1.
Does image to image AI turn a sketch into a 3D model?
A prompt can give the picture the appearance of clay, painted plastic, or another three-dimensional material. The examples show flat images of those forms. A usable mesh for animation, fabrication, or a game still requires a separate 3D workflow.
When should I use a dedicated photo tool?
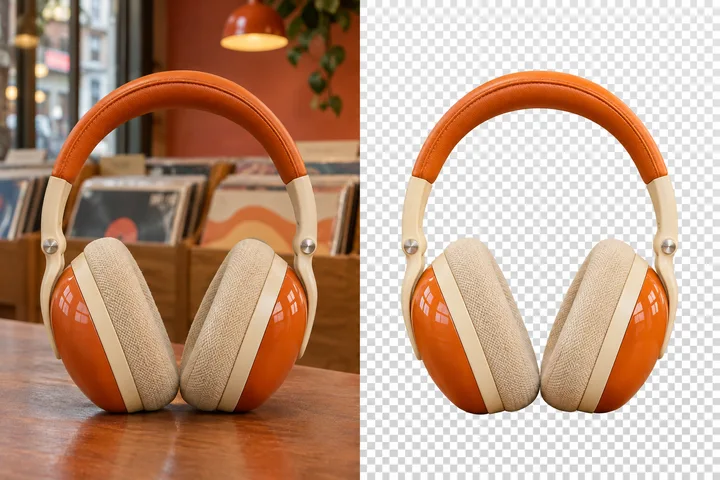
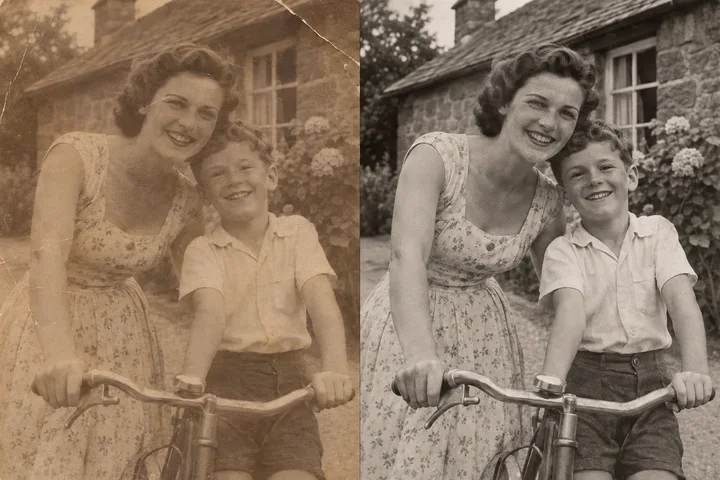
Choose a dedicated tool when the goal is a single correction, such as removing a background, improving facial detail, or restoring an old photo. A reference-based prompt makes more sense when you want to explore a different visual style, setting, or composition.
Do I need to sign in, and how many credits does an edit use?
You can choose an image and write a prompt before signing in. Credits per delivered image depend on the model and resolution. If you ask for four images and only three are delivered, you pay for three.
How long can I download my edited images?
Signed-in users can download their own results as JPGs for 24 hours. Keep the files you want to use on your device. If a result has expired, you can start a new edit from your reference.
Start with a picture you already have.
Start your next image to image AI brief with a reference you like. Give it one clear change, then write down the features you want to keep.